7.4 KiB
| title | description | published | date | tags | editor | dateCreated |
|---|---|---|---|---|---|---|
| Install Phyllome OS | true | 2023-05-27T19:52:44.764Z | markdown | 2021-11-14T16:19:00.348Z |
Install Phyllome OS
This page is intended for users that would like to install Phyllome OS permanently on a computer. Make sure you understand what Phyllome OS is about before installing it
Installing Phyllome OS involves booting from a bootable USB flash drive and fetching an online kickstart file, which contains instructions to automatically deploy Phyllome OS.
- General requirements:
- A bootable USB flash drive
- If you don't have a USB flash drive ready to use, please go back to the last section
- A wired Internet connection
- Many files will be fetched online during the installation process
- Wireless is not supported
- A storage device
- The kickstart file will look for a storage device and install Phyllome OS on it. If there is no disk available, the installation will fail
- A bootable USB flash drive
The process to install Phyllome OS is destructive. Only follow the following instructions on a computer whose data has been backed-up and which has only one storage device attached to it. {.is-danger}
Choose your edition
| GPU-agnostic | Intel GPUs (5th to 9th gen)1 | |
|---|---|---|
| Intel CPU | Phyllome OS Desktop I | Phyllome OS Desktop II |
| AMD CPU | Phyllome OS Desktop A | N/A |
| CPU-agnostic | Phyllome OS Desktop | N/A |
Boot from the USB flash drive
The following section illustrates how to change the boot order temporarily. The process to change the boot order depends on your current computer platform. Please follow the instruction that matches your platform.
macOS
- Make sure that your computer is turned-off.
- Plug the USB flash drive loaded with the official Fedora ISO.
- Locate the Alt / Option key on your keyboard.
- Turn your computer on and immediately hold down the Alt / Option key.
- The startup manager should appear after a few seconds.
- Click on the option called EFI and the GRUB splash screen will appear. Go to the section below to learn what to do next.
Boot into the automated install process
One needs to alter the GRUB instructions in order trigger the automated installation.
GRUB is universal bootloader that ship with many Linux distributions. {.is-info}
EFI-based firmware
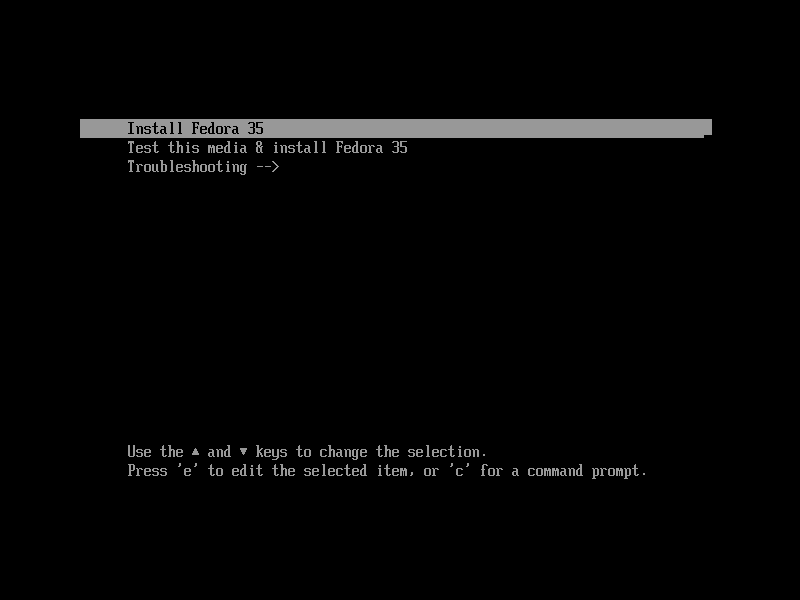
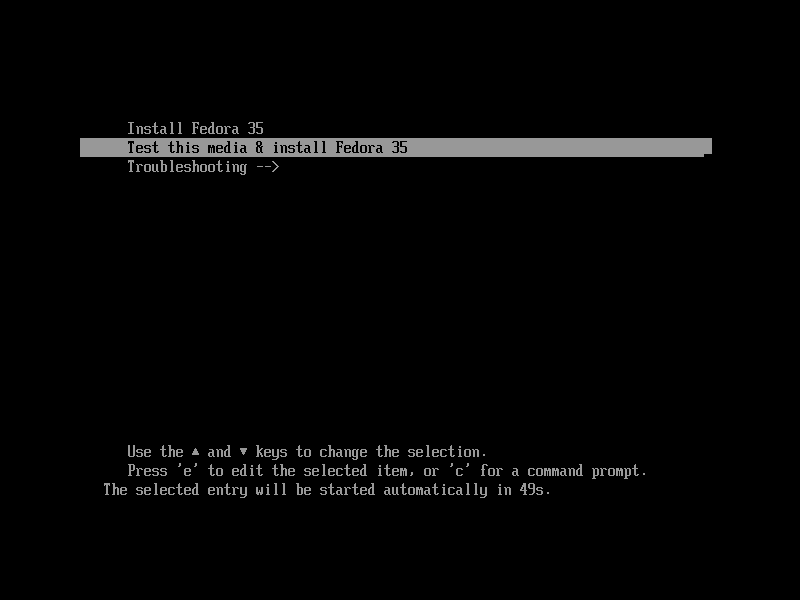
- On the GRUB splash screen, navigate to the first entry using your keyboard arrow key and press e.
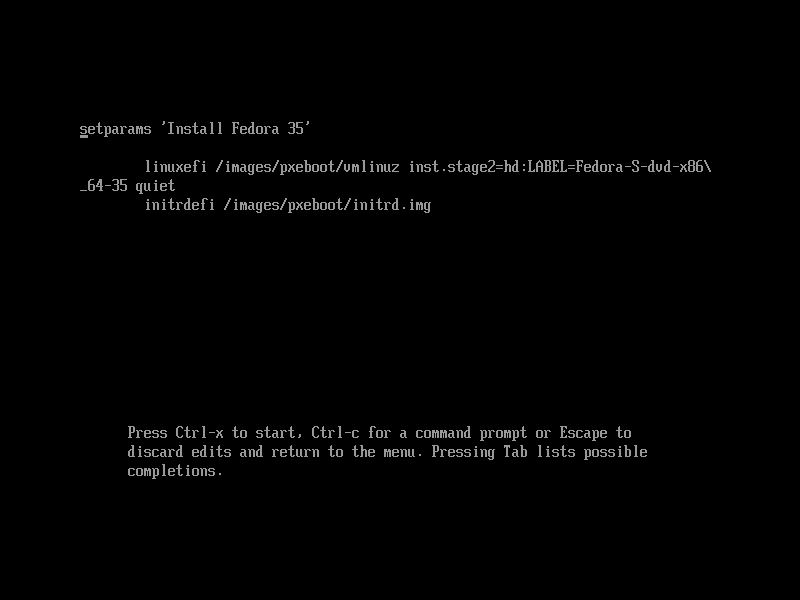
- On the new screen, use the arrow keys to place your cursor just after the word
quiet.
GRUB defaults to the US keyboard layout. Have a look at this online resource to find the corresponding keys if you are not using a US keyboard layout {.is-info}
- Write-down the URL associated to the edition you picked
| Edition | Kickstart URL | |
|---|---|---|
| CPU and GPU agnostic | Phyllome OS Desktop | |
| [ks.phyllo.me/d]( | ||
| https://ks.phyllo.me/d) | ||
| Intel CPU | Phyllome OS Desktop I | [ks.phyllo.me/di]( |
| https://ks.phyllo.me/d) | ||
| AMD CPU | Phyllome OS Desktop A | [ks.phyllo.me/da]( |
| https://ks.phyllo.me/d) | ||
| Intel CPU and GPU | Phyllome OS Desktop II | [ks.phyllo.me/dii]( |
| https://ks.phyllo.me/d) |
Danger Zone: the following instruction will trigger a process that will automatically destroy any data located on the internal disk present in your computer without asking for a confirmation* {.is-danger}
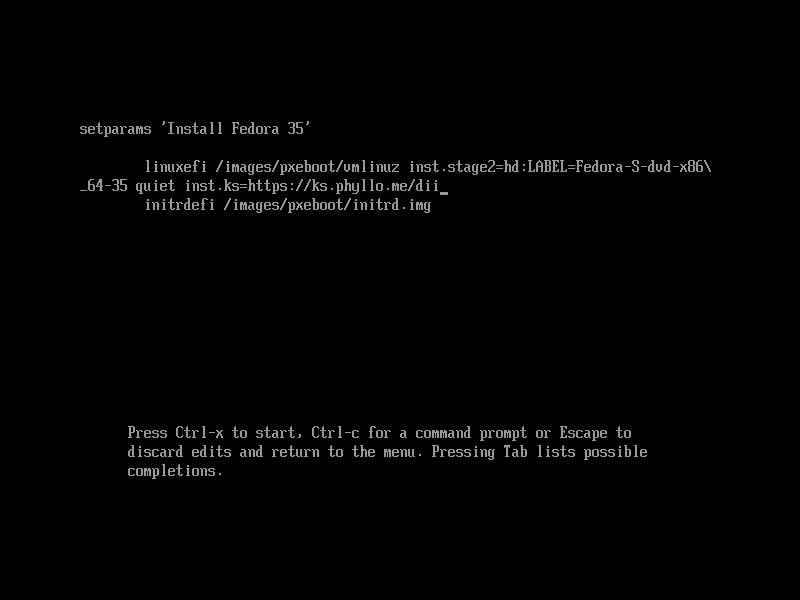
- Leave a blank space after the word
quietand write exactly the followinginst.ks=https://ks.phyllo.me/dii, then press Ctrl + x simultaneously or F10. This command will trigger the automated installation of Phyllome OS.
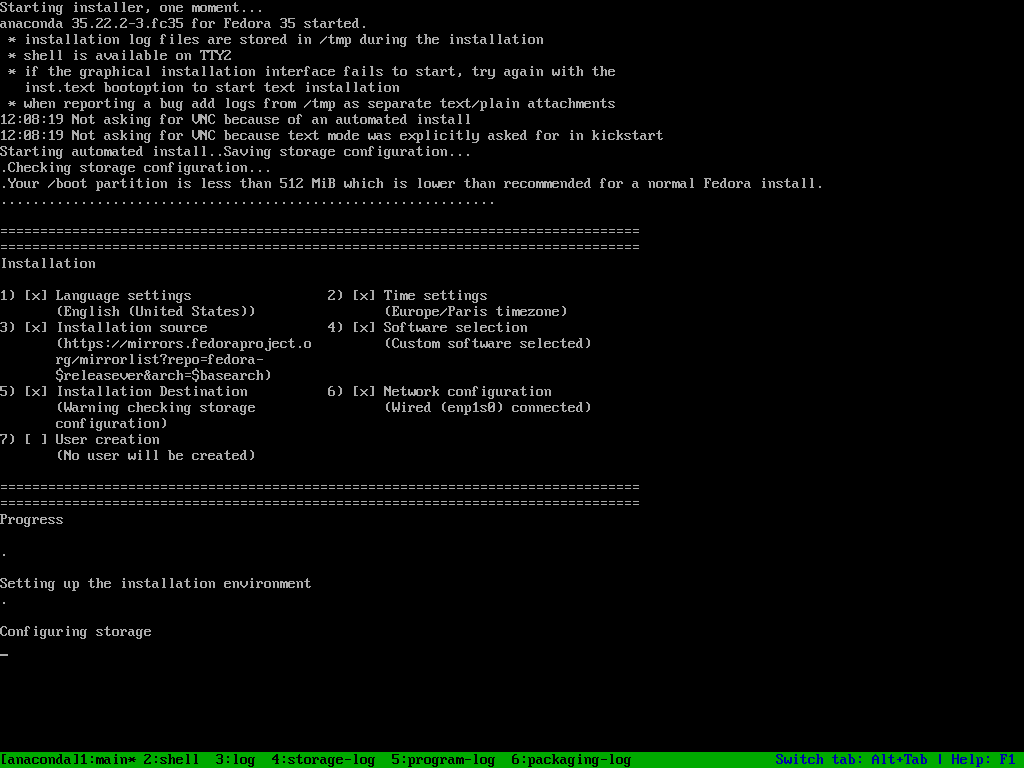
- During the installation process, you can use Alt + Tab to cycle through tabs, and look at the logs in real-time
- After a few minutes, you should be greeted with a welcome screen.
If you wish to learn more about how kickstart files are used to create Phyllome OS, please have a look at the official git repository. {.is-info}
First-launch
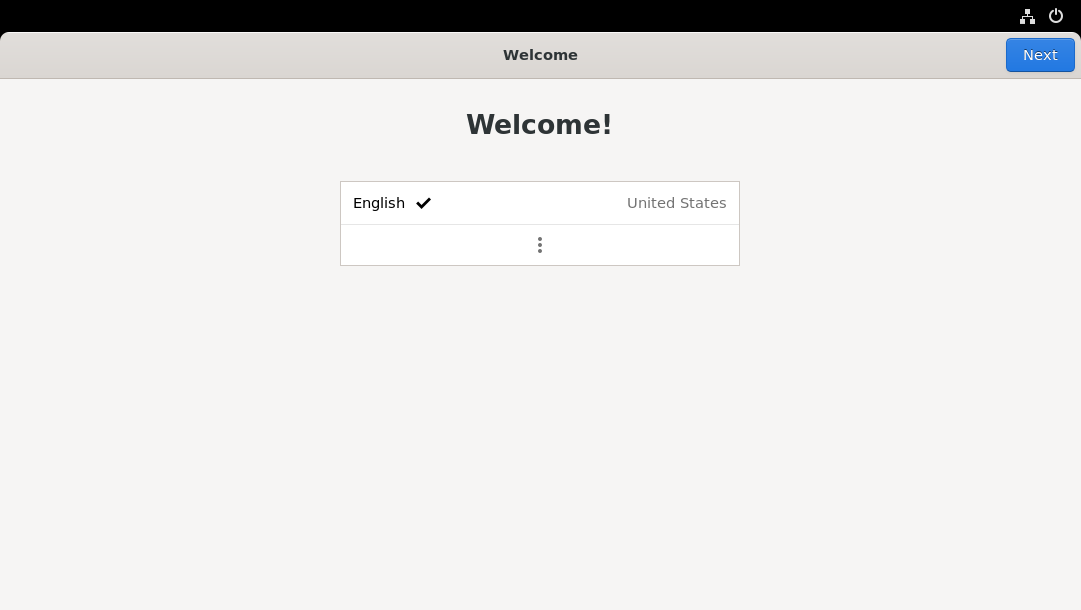
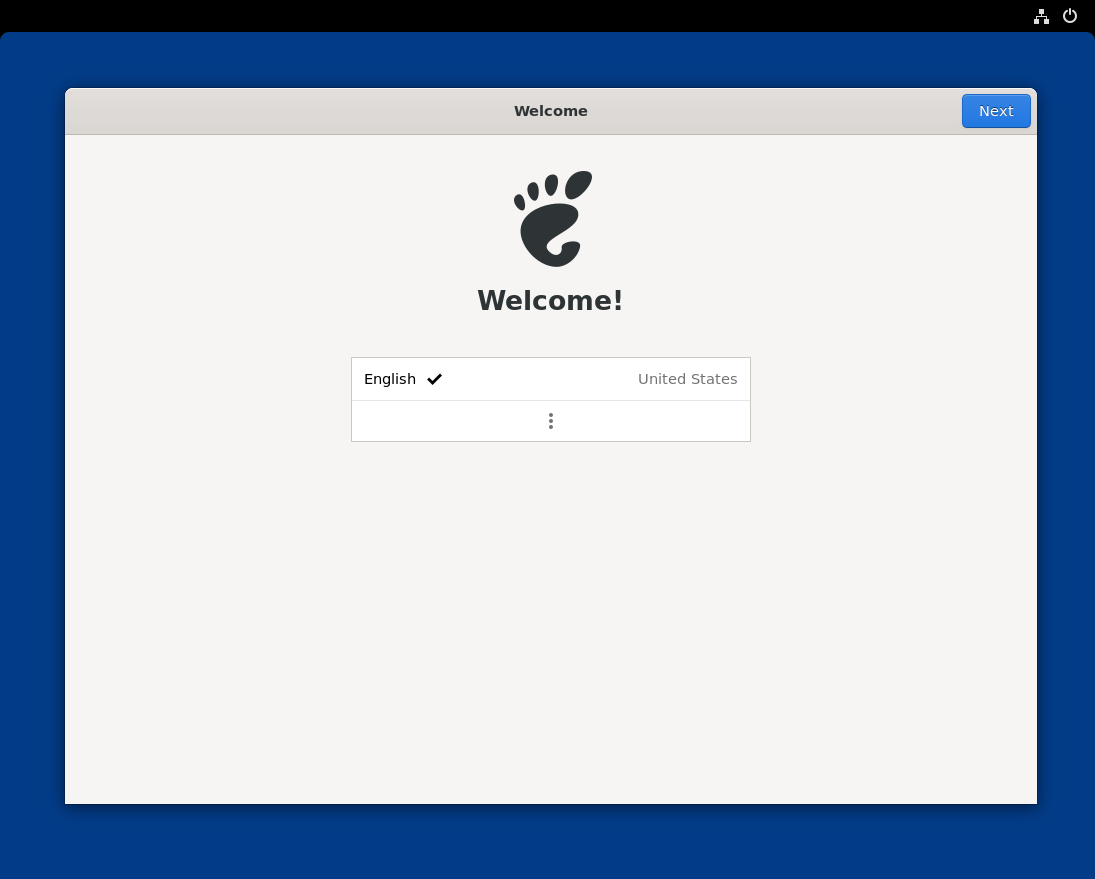
- Welcome screen: on first-launch, for the Desktop edition, you will be greeted with the GNOME Welcome Screen. As of now, only English is available out of the box. Click Next when you are ready.
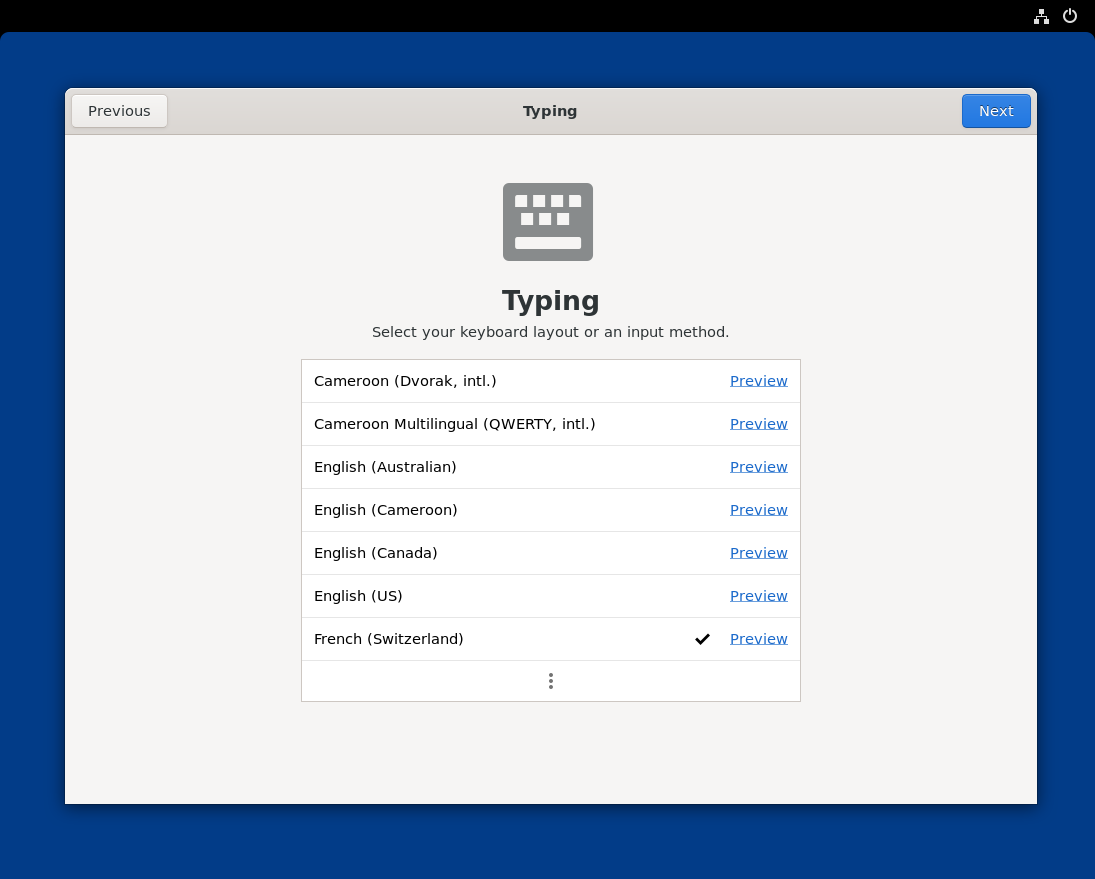
- Keyboard layout: you can select your favorite keyboard layout by clicking on the three stacked vertical dots at the bottom of the screen.
By default, Phyllome OS is set to use the fr-CH keyboard layout. This keyboard layout is used by people living in Romandy, Switzerland, which is also where the original author of Phyllome OS is from. {.is-info}
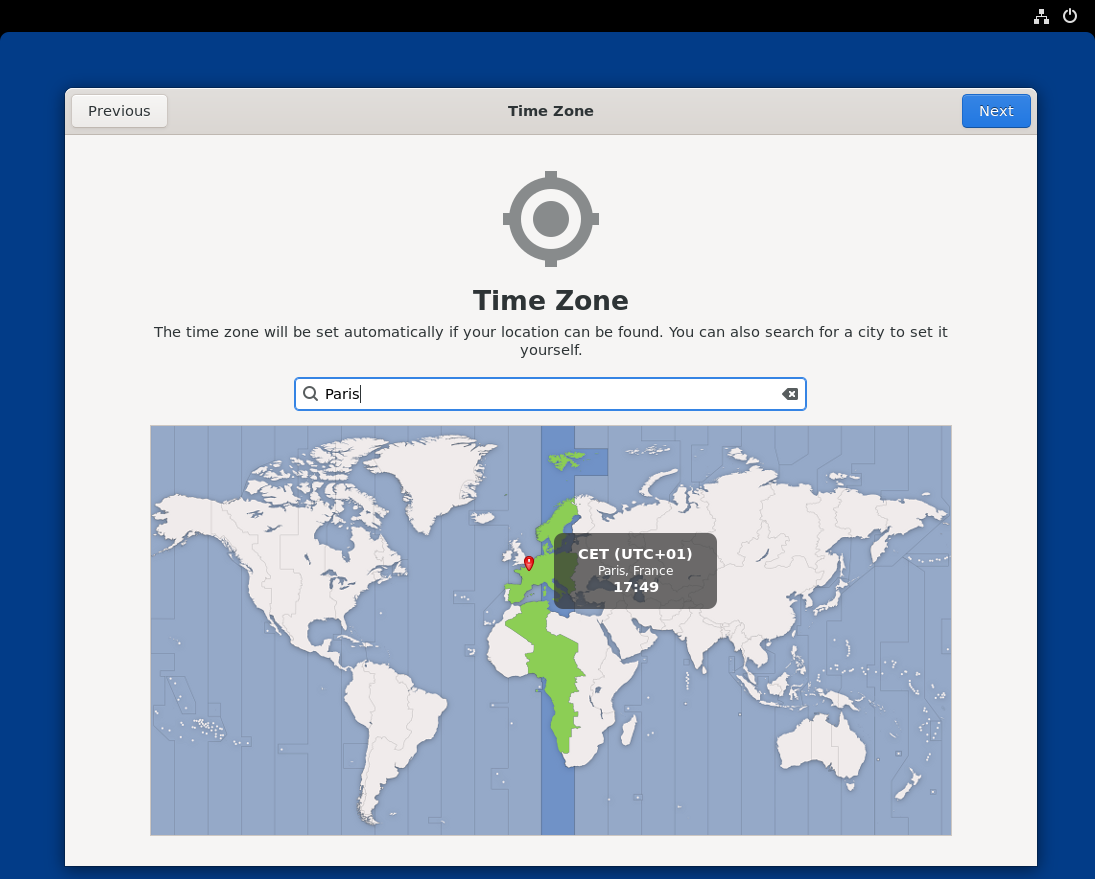
- Time zone: you can pick your current location by clicking on the map or writing it down inside the box. The time will be adjusted according to the provided location.
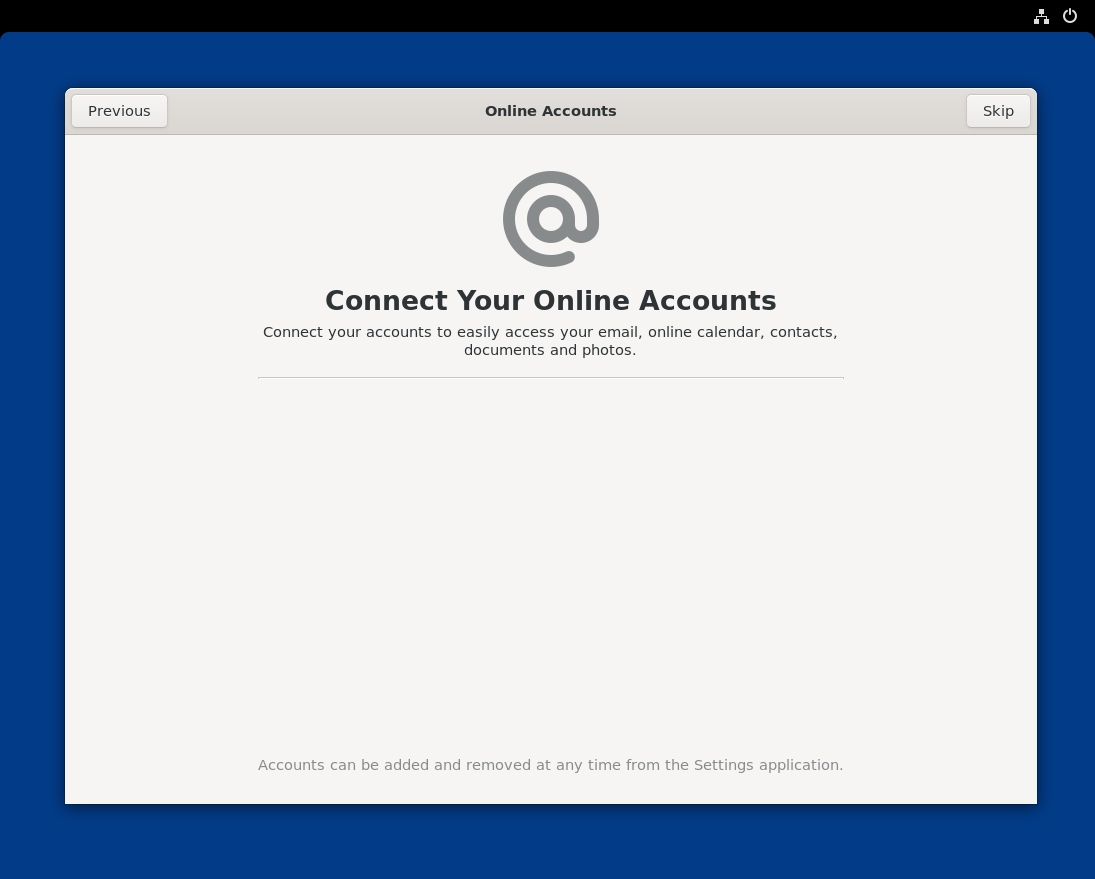
- Online Accounts: Phyllome OS strongly discourages the use of Online Accounts, and therefore provides no option here. Click on Skip to go to the next screen.
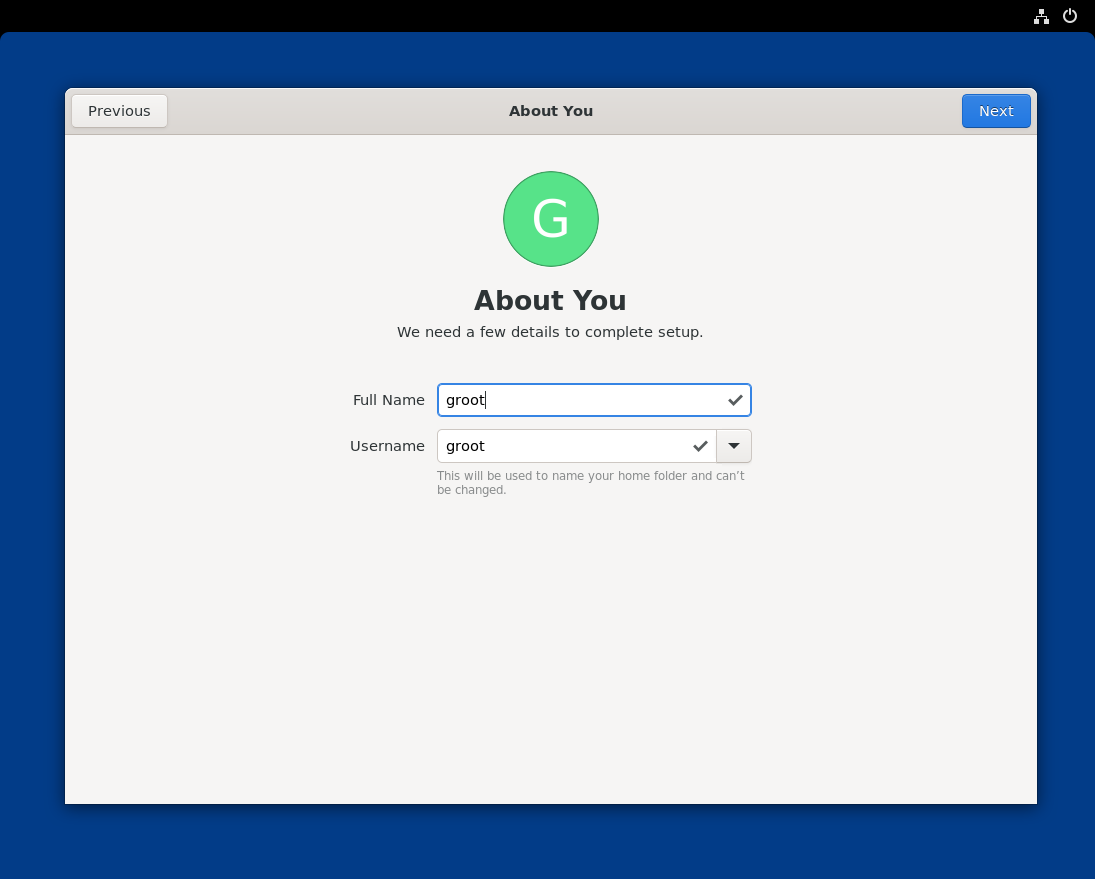
- Create a user account: you are invited to create a user account, which by default will be granted administrator or root privileges. Click on Next when you are done.
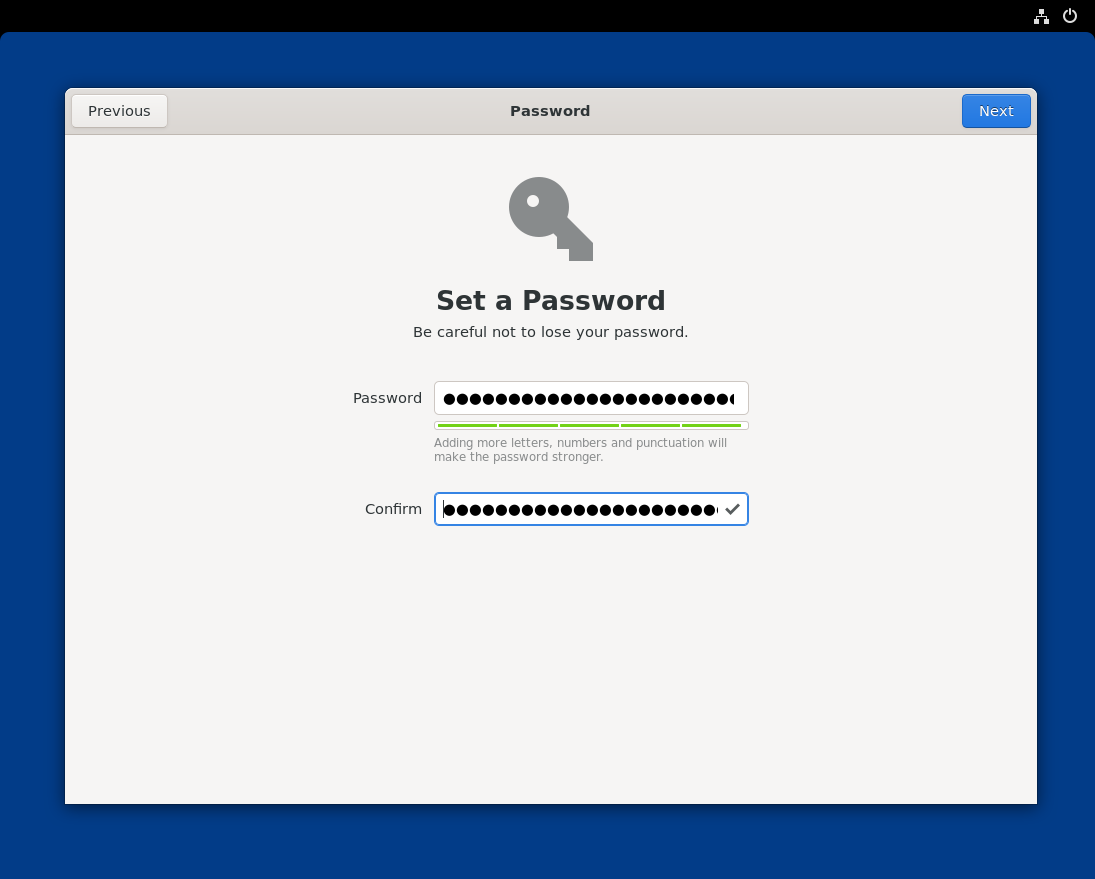
- Provide a password: please do provide a strong password. In case you ever forget it, write it down on a piece of paper and store it somewhere safe, or/and rely on an online password manager like Bitwarden. Click on Next when you are done.
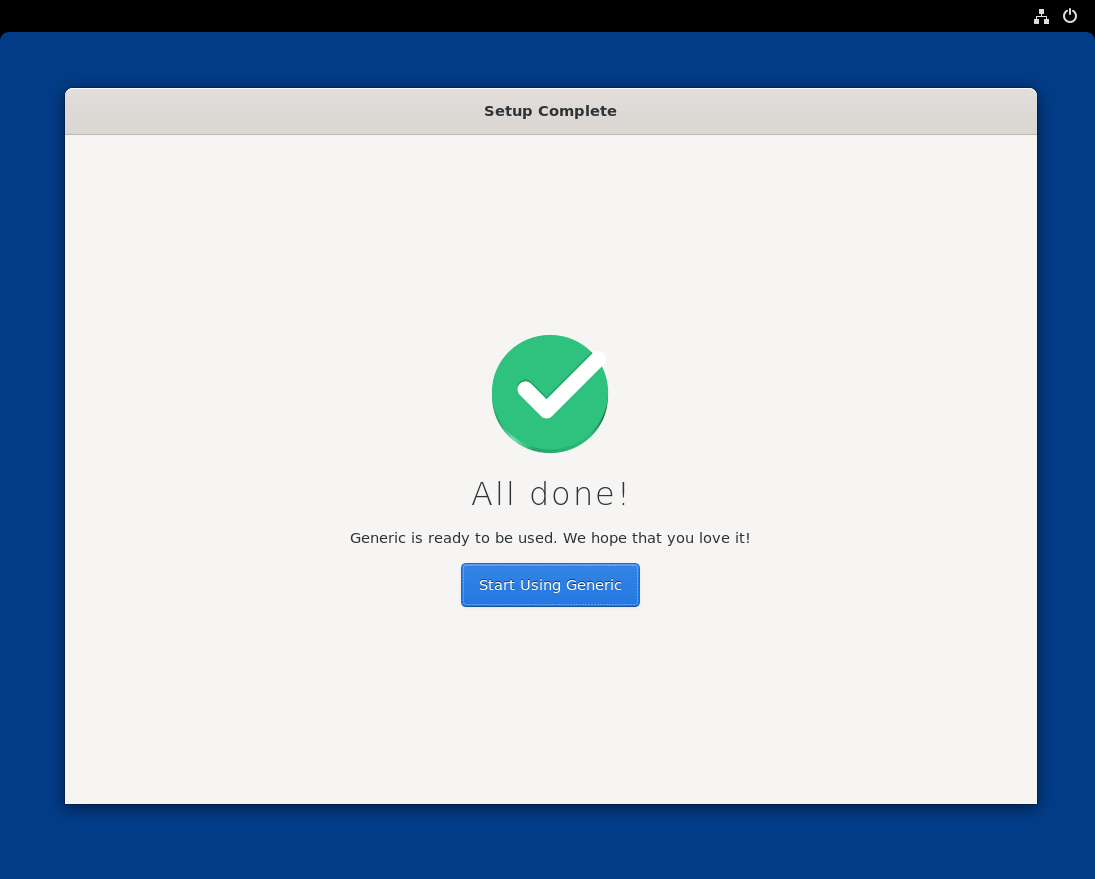
- Setup complete: Click on start Start Using Generic.
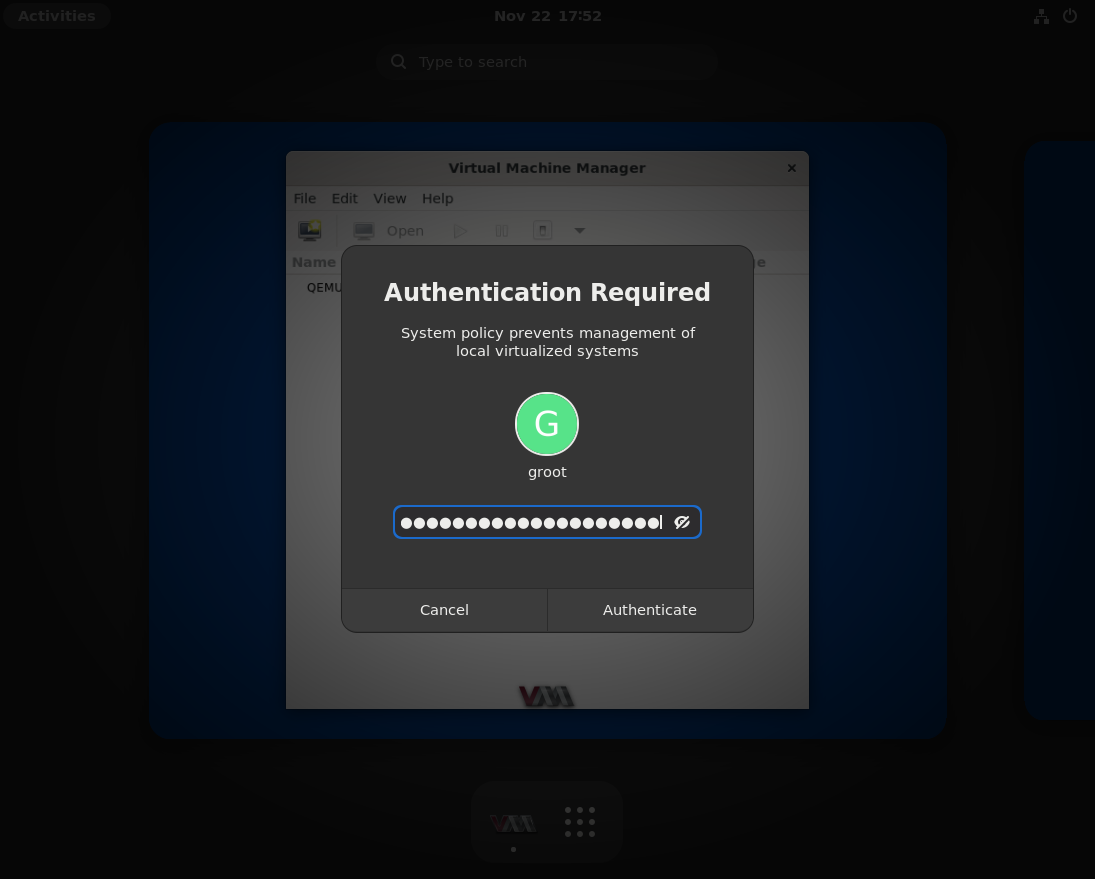
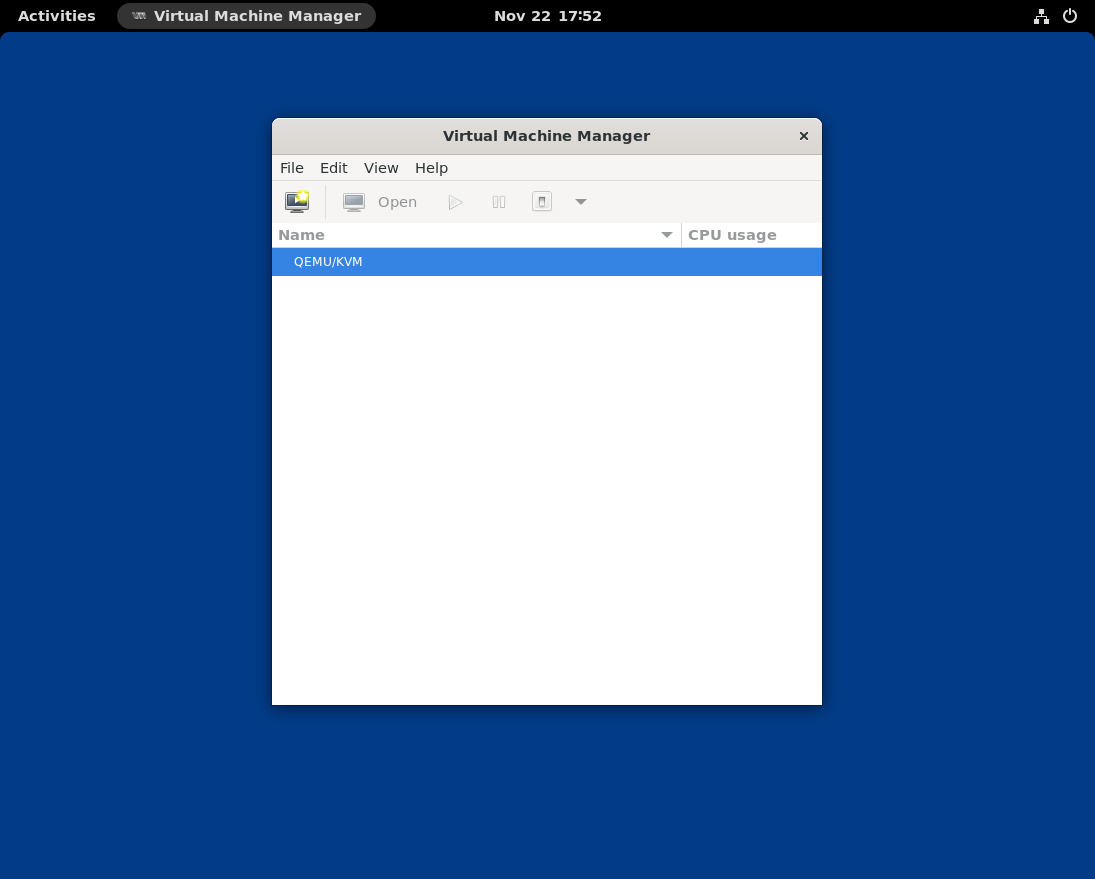
- Provide password: The Virtual Machine Manager is set to auto-launch, and requires elevated permission. Please provide the user password you just set up and click on Authenticate to start using Phyllome OS.
Congratulations, you are done! {.is-success}
Don't forget to remove the USB flash drive from your computer, so that next time your computer will boot, it will use the internal disk where Phyllome OS has been deployed. {.is-info}
-
Only Broadwell-based SoC (5th generation) to Cascade Lake-based SoC (9th generation) are supported. If you possess a more recent SoC from Intel, for instance one based on the Tiger Lake SoC, please pick Phyllome OS Desktop I or Phyllome OS Desktop A instead. ↩︎
